Do you want to know how to tape your knee for knee pain in general? On this page, we will show you step-by-step how to do it.
The following tape application can help with unclear, non-specific knee pain, i.e. pain all around the knee without being able to pinpoint the exact location. It relieves your knee and the knee feels much more stable.
How to tape your knee
Tips for a good knee taping application
- Is the cause of the complaint or pain clear?
- Check if there any contraindications for not taping.
- Before you start taping, carefully read the instructions.
- Choose a colour of tape, any colour that fits your mood!
- Round of all the edges to prevent peeling.
- Do not stretch the tape at the beginning and the end.
- Rub the tape well for adhesion. Heat activates the adhesive layer.
- Showering or swimming is possible, pat the tape dry after it gets wet. Do not rub it hard.
- It is easier to remove the tape with body or massage oil.

Christina’s advice when taping your knee
In the self-taping instructions, I have chosen taping applications that are easy to apply yourself. In order to make this treatment safe, I give practical tips, which you should take into account before, during and after a tape treatment. They are based on my years of practical experience. If the complaints persist, always consult a therapist or doctor.
Preparation
Tape
Shape: I-Tapes.
Number of strips: 4.
Technique: Ligament technique (maximum/full stretch).
Measuring and cutting the tapes
Step 1:
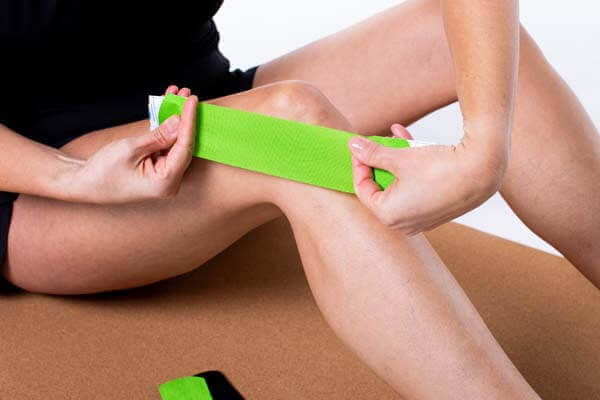
Cut two tapes approx. 15 cm long and two tapes approx. 20 cm long.
Applying the tape to your knee
Step 1:
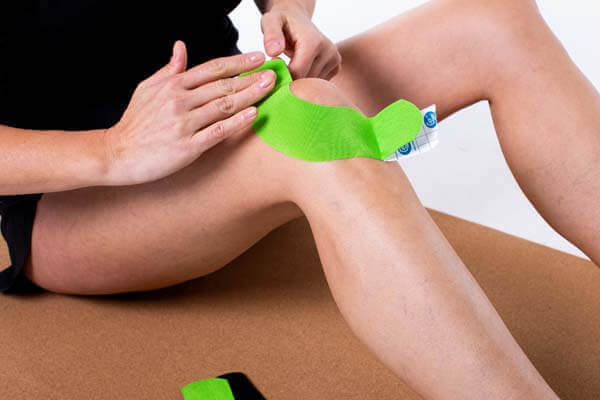
Step 2:
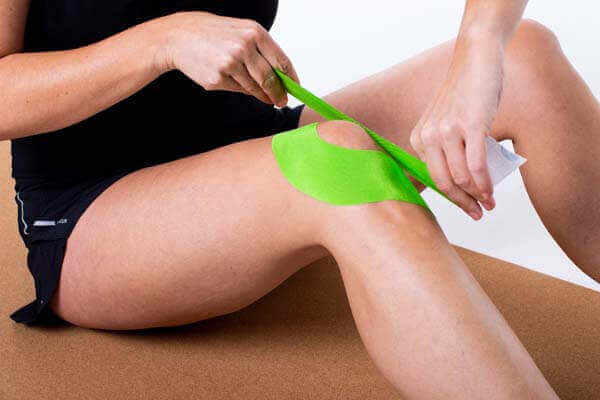
Step 3:
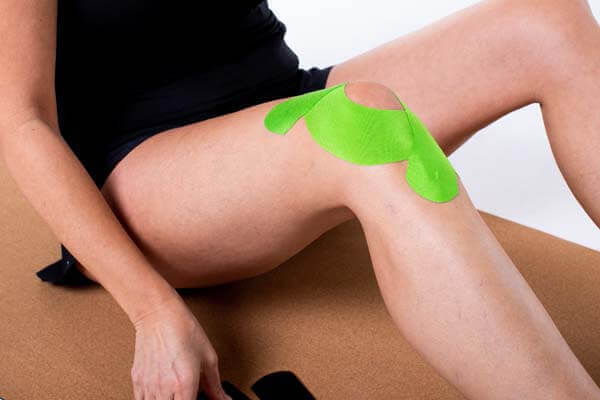
Step 4:
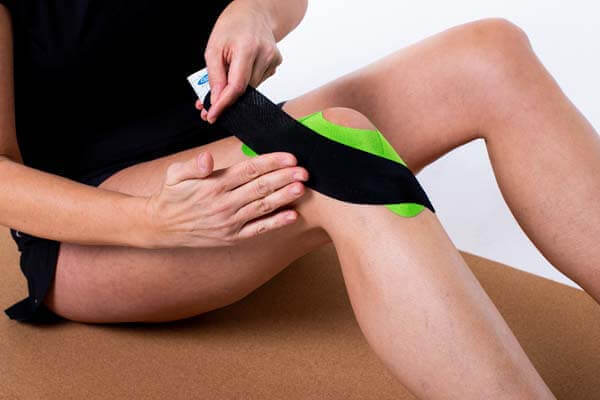
Step 5:

- Sit on the floor and slightly bend the knee. Keep the knee in this position throughout the treatment.
- Start by applying the first 15 cm tape to the place where the pain is most felt.
- Tear the release paper in half and fold the paper away on both sides.
- Place the midsection under full stretch around the edge of the kneecap in a semilunar movement. Then attach the two anchors without stretching.
- Repeat with the second 15 cm tape, but on the other side of the knee (mirrored).
- Apply the third and fourth 20 cm tapes under full tension and partly overlap the first and second tapes.
- Rub all tapes down firmly.
Popular products to tape your foot
-
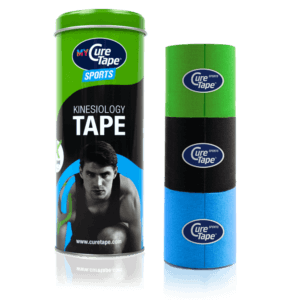
MYCureTape® – 3 Rolls Kinesiology Tape – Value Pack
 $26.95
In stockSelect options This product has multiple variants. The options may be chosen on the product page
 -
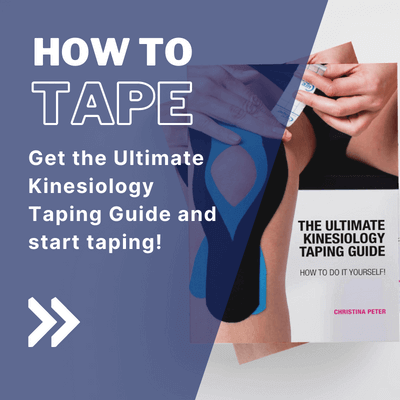
Book: The Ultimate Kinesiology Taping Guide
 $29.95
In stockAdd to cart
 -
CureTape® Ultimate Self-Tape Starter Kit
 $87.95
In stockAdd to cart
Learn how to tape
- 30 taping instructions for common injuries that taping can help you with
- 176 pages of clear written instructions
- 200 step-by-step instructions accompanied by photo’s, illustrations and scannable video’s through QR codes
What are you waiting for? Order your copy today!
*This book is intended for people who want to tape an injury or complaint themselves. If uncertain about the complaint, consult a physiotherapist.
THYSOL is the manufacturer of the kinesiology tape brand CureTape. As CureTape, we have been training and supplying professionals for almost 25 years. And consumers now know how to find us too! By manufacturing all our tapes in our own factory, we can guarantee the best quality!
Please note that the indicated tape applications and information on our website about the possibilities with kinesiology tape have not yet been scientifically proven. The statements and examples mentioned are based on long-term experiences of patients and trained therapists.
Contraindications not to tape: pregnancy, open wounds, broken bones, unexplained complaints, allergies and skin diseases, use of medication such as blood thinners, thrombosis and fever. Always apply tape in consultation with a specialist.

